|
|
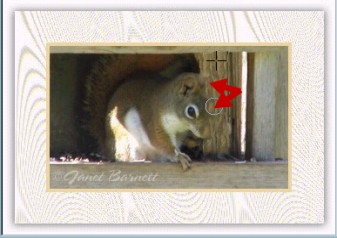
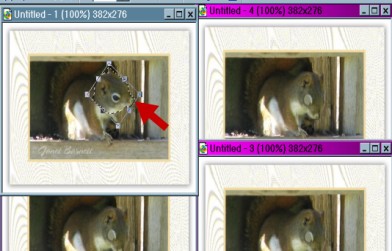
See how the head is kind of fading away? That is what you
want. Go all the way down the post to make it look
even. |
|
|
Ok now do the same with the arm (the part that is on the
body). Clone it to look like the shaded white area behind it in
the original. On the part that is over the wood part do it the same
way you did the post by
the head. |
|
|
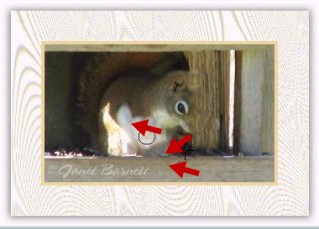
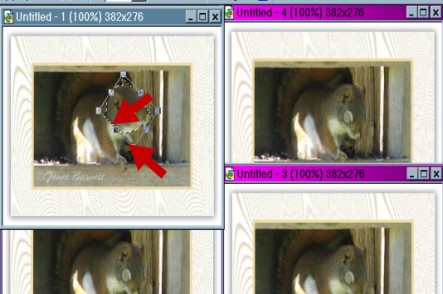
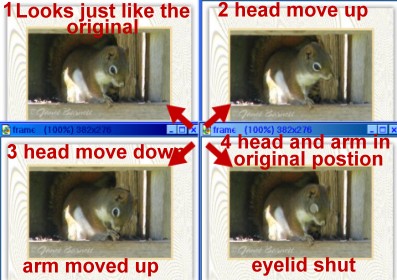
Now this is what you should have, notice where the arrows are
you do not see the arm and or hand or the head too much any
more. |
|
|
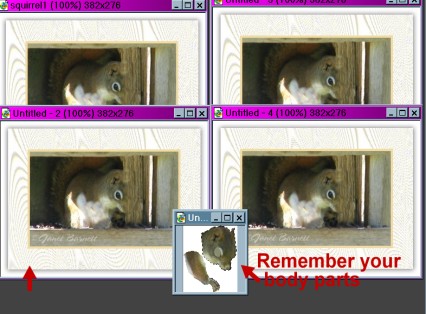
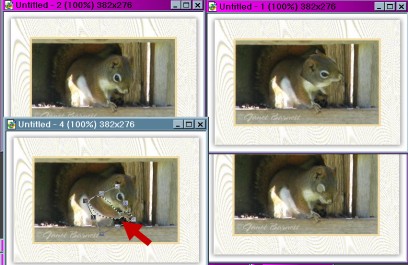
Ok now hit Ctrl + D key on keyboard to duplicate
this frame 4 times, like what I have done here. Activate your body
parts and duplicate them 4 times, (I always keep a spare canvas of
my body parts, and doctored background, in case I mess up.) Now
minimize one background and one of the body parts, to get them out
of your way.
Now remember I
told you to keep the head and arm in the same position, that they
were in, in the original. This is why we did
that. |
|
|
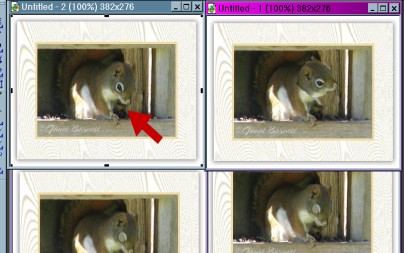
Now move each of the sets of body
parts into position, on each of the
frames.
Ok in first frame
ungroup the body parts, and then delete the eyelid only.
This is so all of the frames will look the
same, this, is why we did not use the original image for
frame1.
Now save this frame as
frame1
Note:
dont move any of the other parts. |
|
|
Remember to save each
frame as you arrange them, but do not delete the ones in your PI or
merge them, because you may have to come back and make some changes
and resave, or you might decide that you need another frame to add
more movements.
Ok now go to 2nd frame, and ungroup these body parts, also
here delete the eyelid, then go to transform tool and turn the head
up as far as you like, or what looks good to
you.
|
|
See the shadow is gone, and looks more
natural. |
You will notice that there is
some old background showing, now that we moved the head out of
original, position. So we will repair that now.
First click and activate both the head and arm, and group
them. Then move them a little over to the side. Using the clone tool
remove this shadow a little, like we did in the background. Now move
the arm & head back into position. Save this as
frame2 |
|
|
Third frame lets move the arm a little to the right, and the
head down to the left, just a
little. |
|
|
Here is an example of the 3ed frame. Now save this as
frame3 |
|
|
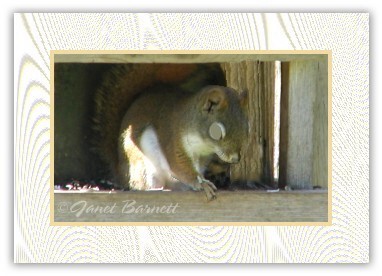
Here is the fourth frame we leave every thing in place. Head,
arm, and the eyelid.
Save this as frame4 |
|
|
Ok here are the finished 4 frames that you should
have.
Now we take these to the Animation part of the
tut. |
|
|
Now
with these steps you should be able to animate any photo or graphic.
Make your pet blink at you or go to sleep, or even wake up, lol, or
hubby to wink at you, or what
ever idea you come up with, and
not change the background at all, for the most part. Ok lets go to
the animation part of this tutorial. I hope you have enjoyed this
tutorial so far. |