Level:
Intermediate
Things you
will need: Graphic, corner, gold
fill are in a zip file you can download Here
Andrew Filter 61 Here
Ok lets get started.
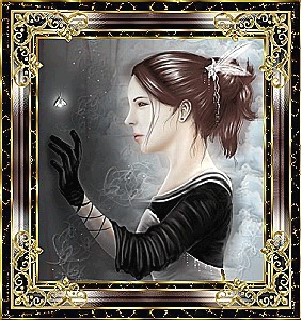
Open Graphic in PI, copy (Ctrl + D) to copy original 2 times. Close the original. Minimize one of the copies.
 |
1. |
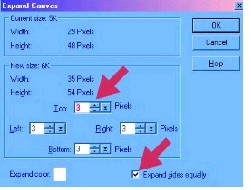 |
2. By
3 and make sure that Expand sides equally is checked.
Select
the expanded area with the magic wand. |
 |
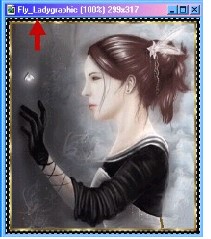
3. This
what you should have now. Now
copy gold fill, and Edit/Paste/ Fit into
selection. Merge. |
 |
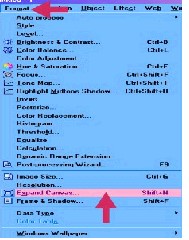
4. Go
back to Format/Expand Canvas by 5. |
 |
5. Flood
Fill Tool, and fill with black. Keep
area active. |
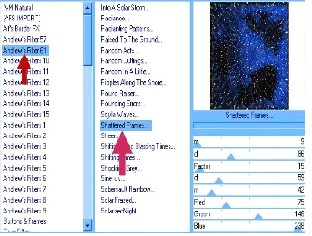 |
6. Now Go
to Effects/Plugins/Anderw filter 61/Shattered frame. Except Default
settings. Merge.
Now
repeat steps 1, 2, and 3. |
 |
7. Go to Format/Expand Canvas by 20. Select the expanded area with the magic wand.
Open
2nd copy and copy it. Edit/Paste/Fit
into Selection. |
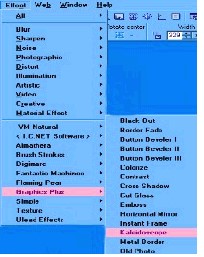 |
8. Go to
Effects/Plugins/Graphics Plus/Kaleidoscope use these
settings. Divisions 213 Rotation
58 |
 |
9. Now go
to Effects/Blur/Gaussian Blur and choose the bottom row, middle
window. |
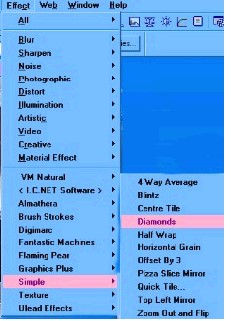 |
Go to Effect/Simple/Diamonds |
 |
10. Now go
to Web/Button Designer/Any shape. I used
this one, it is 6th row, the 3ed one, I show it here, but it is
a little hard to see. Except default settings. |
 |
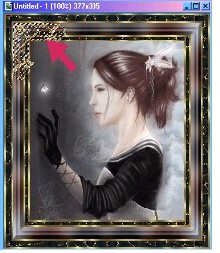
Here
is what it should look like. |
| 11. Now go back and do Steps 1, 2, and 3 again. |
12. Now go to Format/Expand Canvas by
10. Select this area and flood fill with Black; keep active go to
Effects/Plugin/Andrew filter 61/Shattered frame.
Merge |
| 13. Now last time go back and do steps 1, 2, & 3, 4, 5, 6and do the gold fill again and black shattered backgrond fill again. Then do steps 1, 2 and 3 one more time so that you frame has the gold filled outline for it's edge. | Merge. Almost done now. |
 |
14. Now
open the corner in your PI and copy.
Then go to Edit/Paste/As Object. Arrange in corner like what I have
done here. Duplicate. Edit/Rotate & Flip/Flip
Horizontally, and move in to place. After
you have these to where you want them, select both,
duplicate. Edit/Rotate
& Flip/Flip Vertically. |
|
Now go
to Effect/Sharpen/Sharpen, do this 1 to 2 times, which ever is your
preference. |
Congratulations
you are done. I hope you
enjoyed this tutorial. If you
have any questions please fill free to write me. Thank
you for trying my
tutorial. |